Skip to content

Samna Documentation
- Pages
Configuring a device
Nima Gharib
## Quick configuring a device
After adding a device, you get the option to do a quick configure. This is the quickest way to configure a device, and includes the minimum set of options needed to get a device set up with a template. The quick configuration page lets you choose a device name, and a template, which is filtered by template types. Additional required configuration may be needed by different template types, and will eventually be part of the quick configuration.
1. Give the device a new name by clicking the **Device name** input and typing a new name.  _Giving a device a new name is completely optional, and only serves as a way to organize devices beyond template types._
### Quick configure: Meeting Room
For **Meeting Room**, the only template specific configuration available is choosing a room for the device to represent, i.e selecting a template.
1. Make sure the **Template Type** filter is set to **Meeting Room**. 
2. Click the **Room** dropdown, and select a room from the list.  _Note the tablet icon to the right of the rooms **K2** and **Kilimanjaro**. It indicates that these rooms already have been assigned to at least one device._
After configuring, you have three options to proceed.
1. Open the full device configuration by clicking **FULL CONFIGURATION** (see device configuration for more details). 
2. Complete the quick configuration and return to the device overview by clicking **COMPLETE**. 
3. Complete the quick configuration and proceed to authorize another device by clicking **COMPLETE & AUTHORIZE ANOTHER**. 
## Full configuration of a device
On the full device configuration page you will find all options available for configuration for an individual device. Some options are configured globally, see [global settings](#global-device-configuration).
You can reach the full configuration page of a device in two ways, either after adding a device, as shown in the previous section, or by clicking the **cog** icon next to a device on the device overview page.
1. Navigate to the device overview by clicking **Devices** in the left menu. 
2. Click on the device name of the device you want to configure, to open the full configuration page. 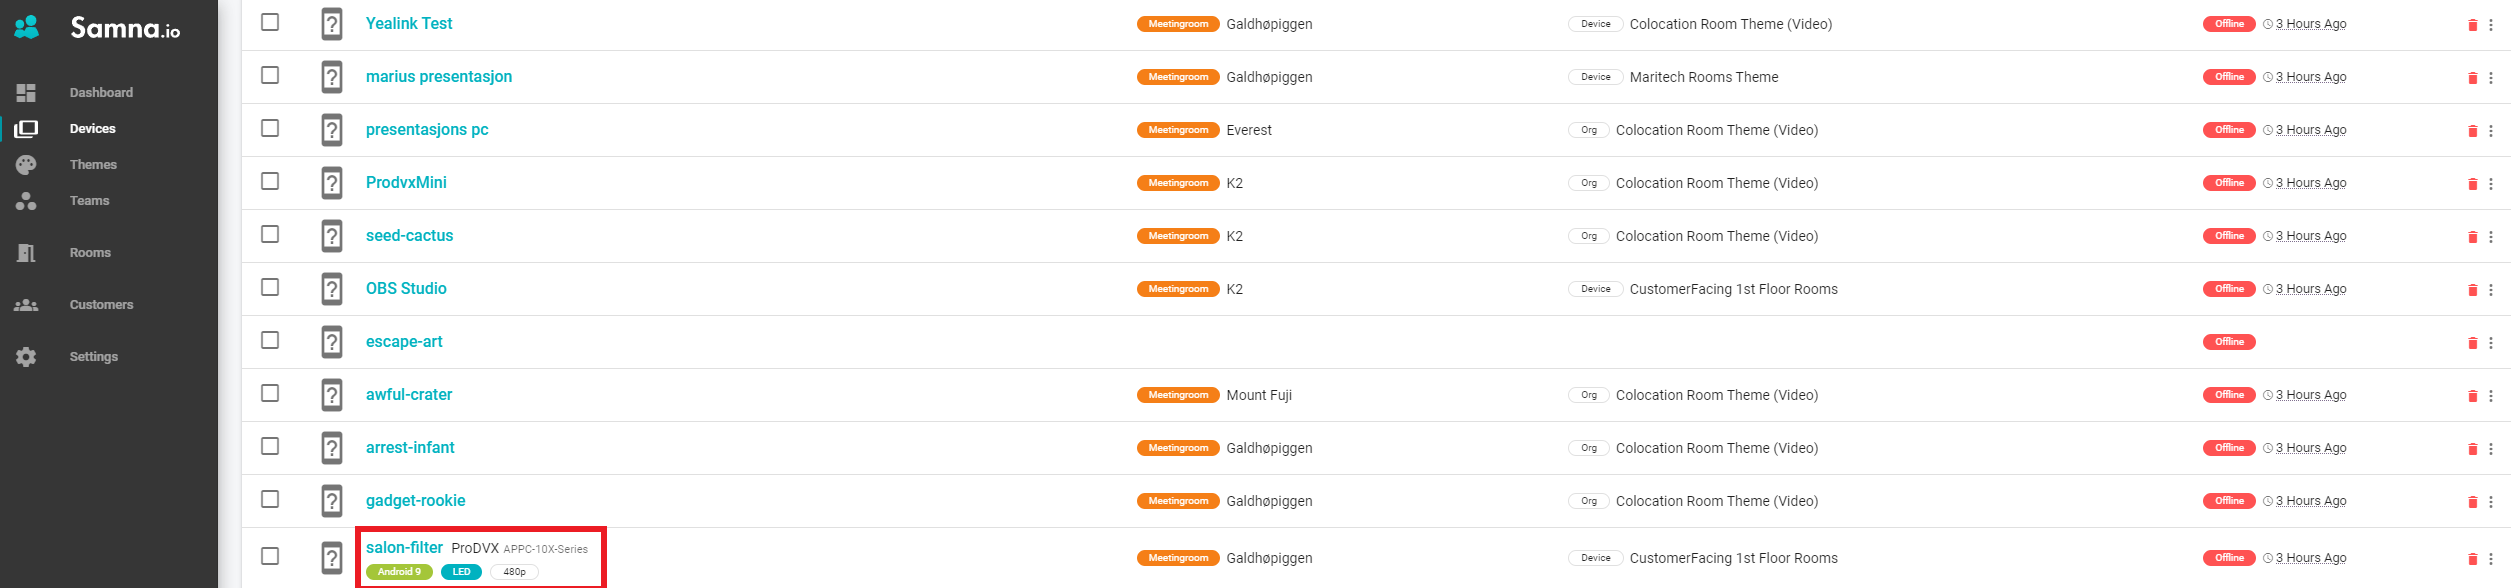
Once on the full configuration page, all devices give you the option of changing the name at any time.
1. Change the name by clicking the **Device name** input and typing a new name.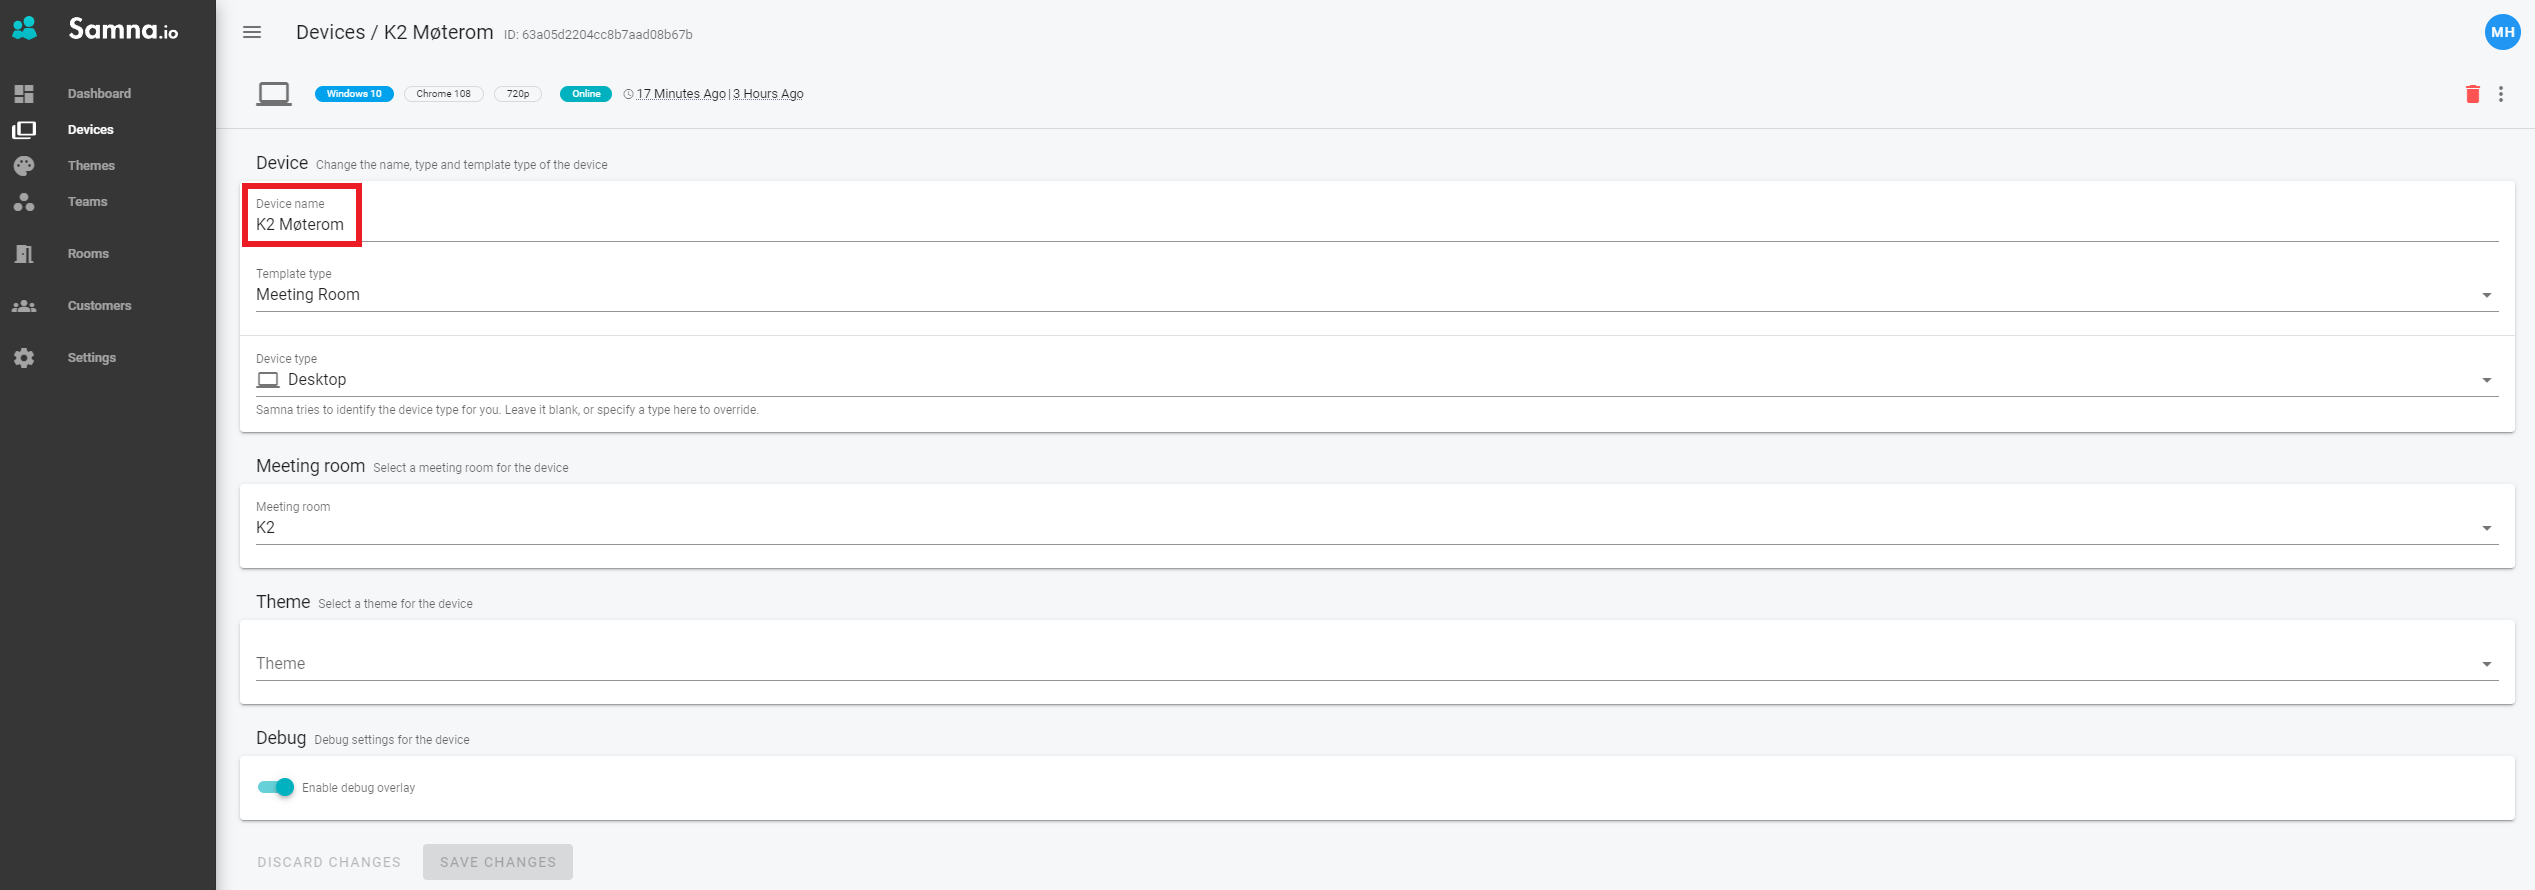
_Giving a device a new name is completely optional, and only serves as a way to organize devices beyond template types._
### Full configure: Meeting Room
For **Meeting Room**, there are currently no options available in the full device configuration, which are not available during quick configuration. The only template specific configuration available is choosing a room for the device to represent, i.e selecting a template.
1. Make sure the **Template Type** filter is set to **Meeting Room**. 
2. Click the **Room** dropdown, and select a room from the list.  _Note the tablet icon to the right of the rooms **Mount Fuji** and **Kilimanjaro**. It indicates that these rooms already have been assigned to at least one device._
3. Click Theme to change the theme streamed to the device 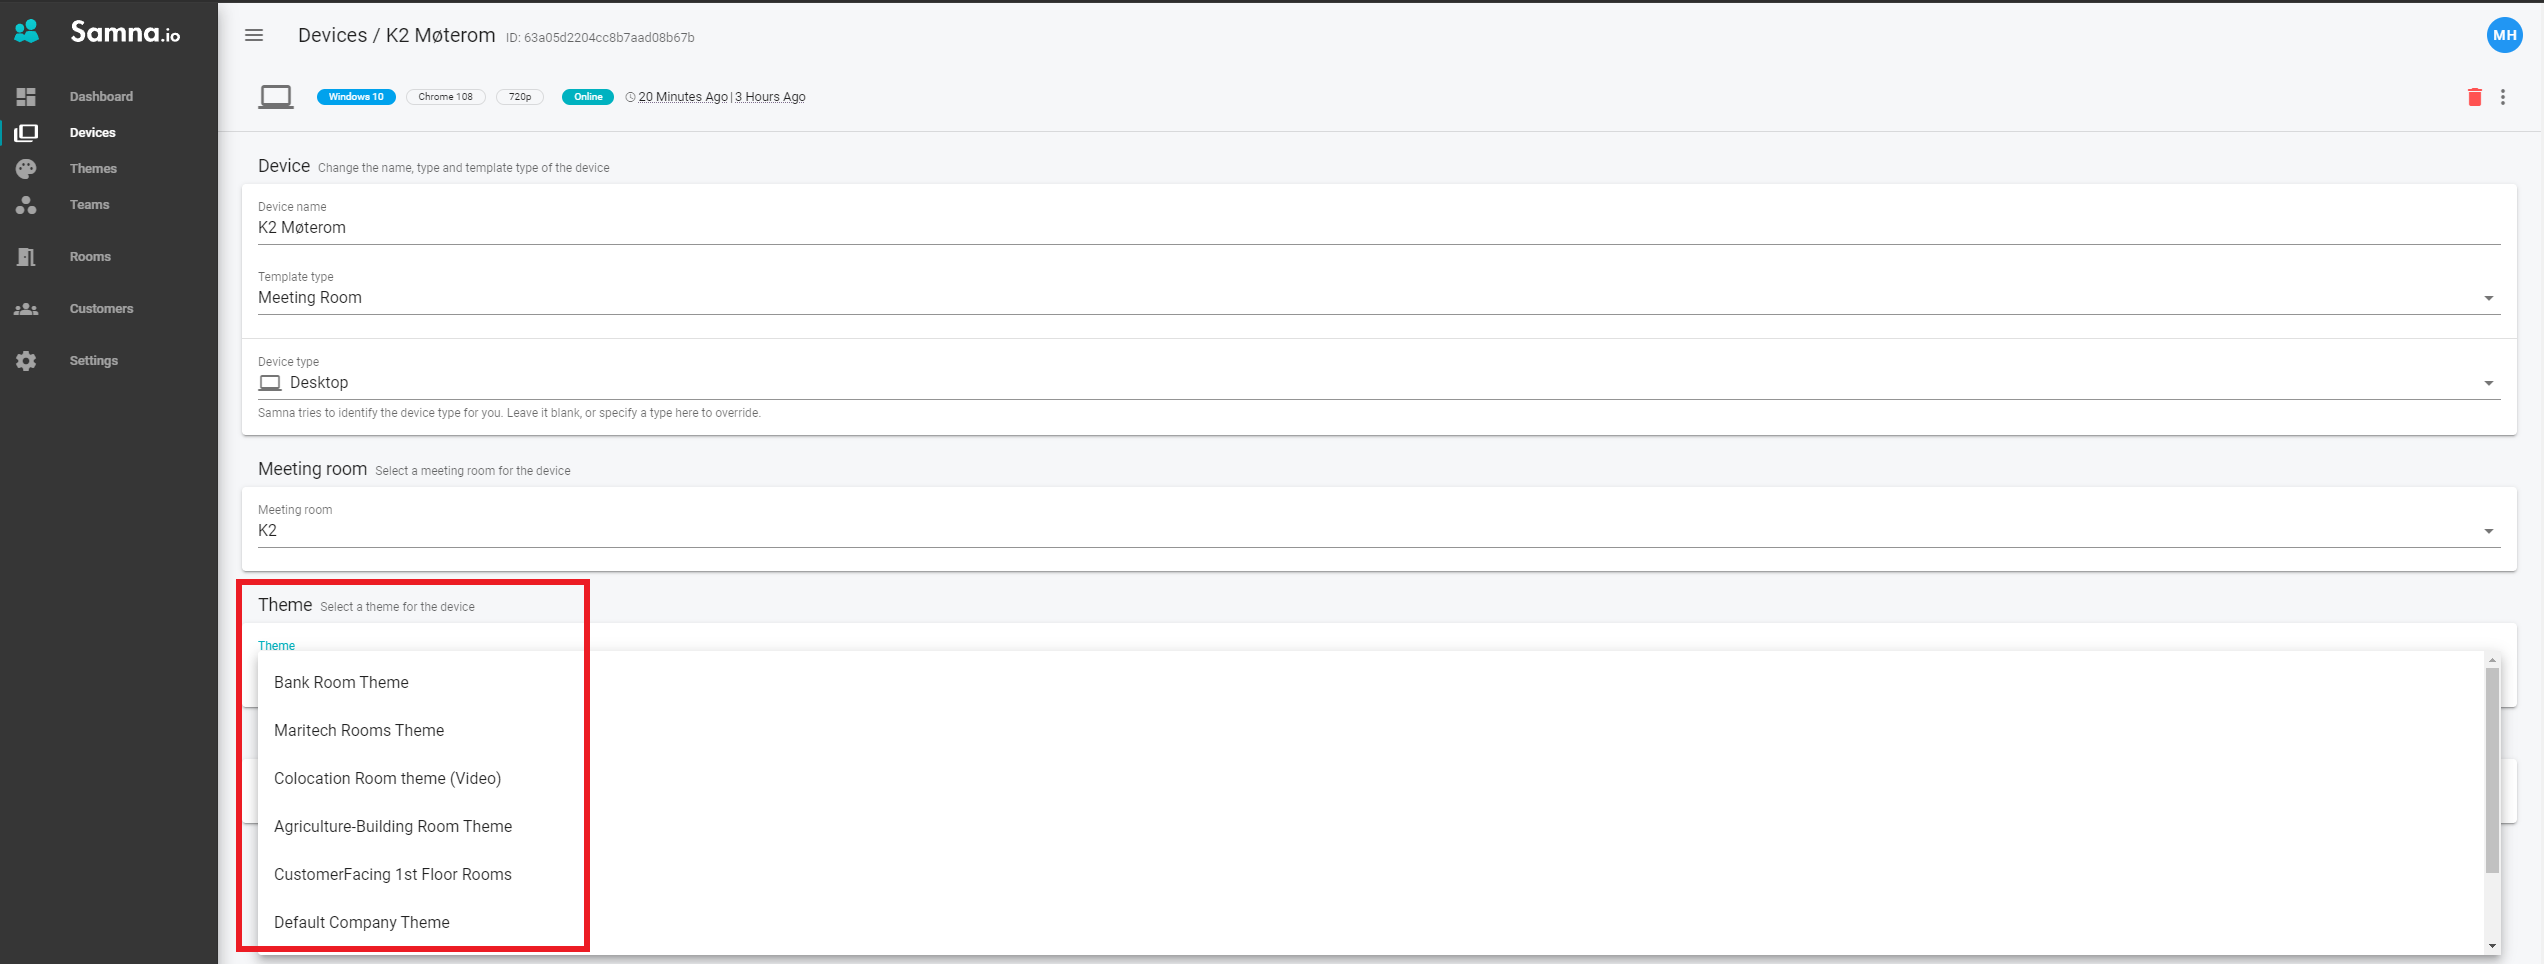
4. If the device is not autodetected to an device type you can override this in "device type" 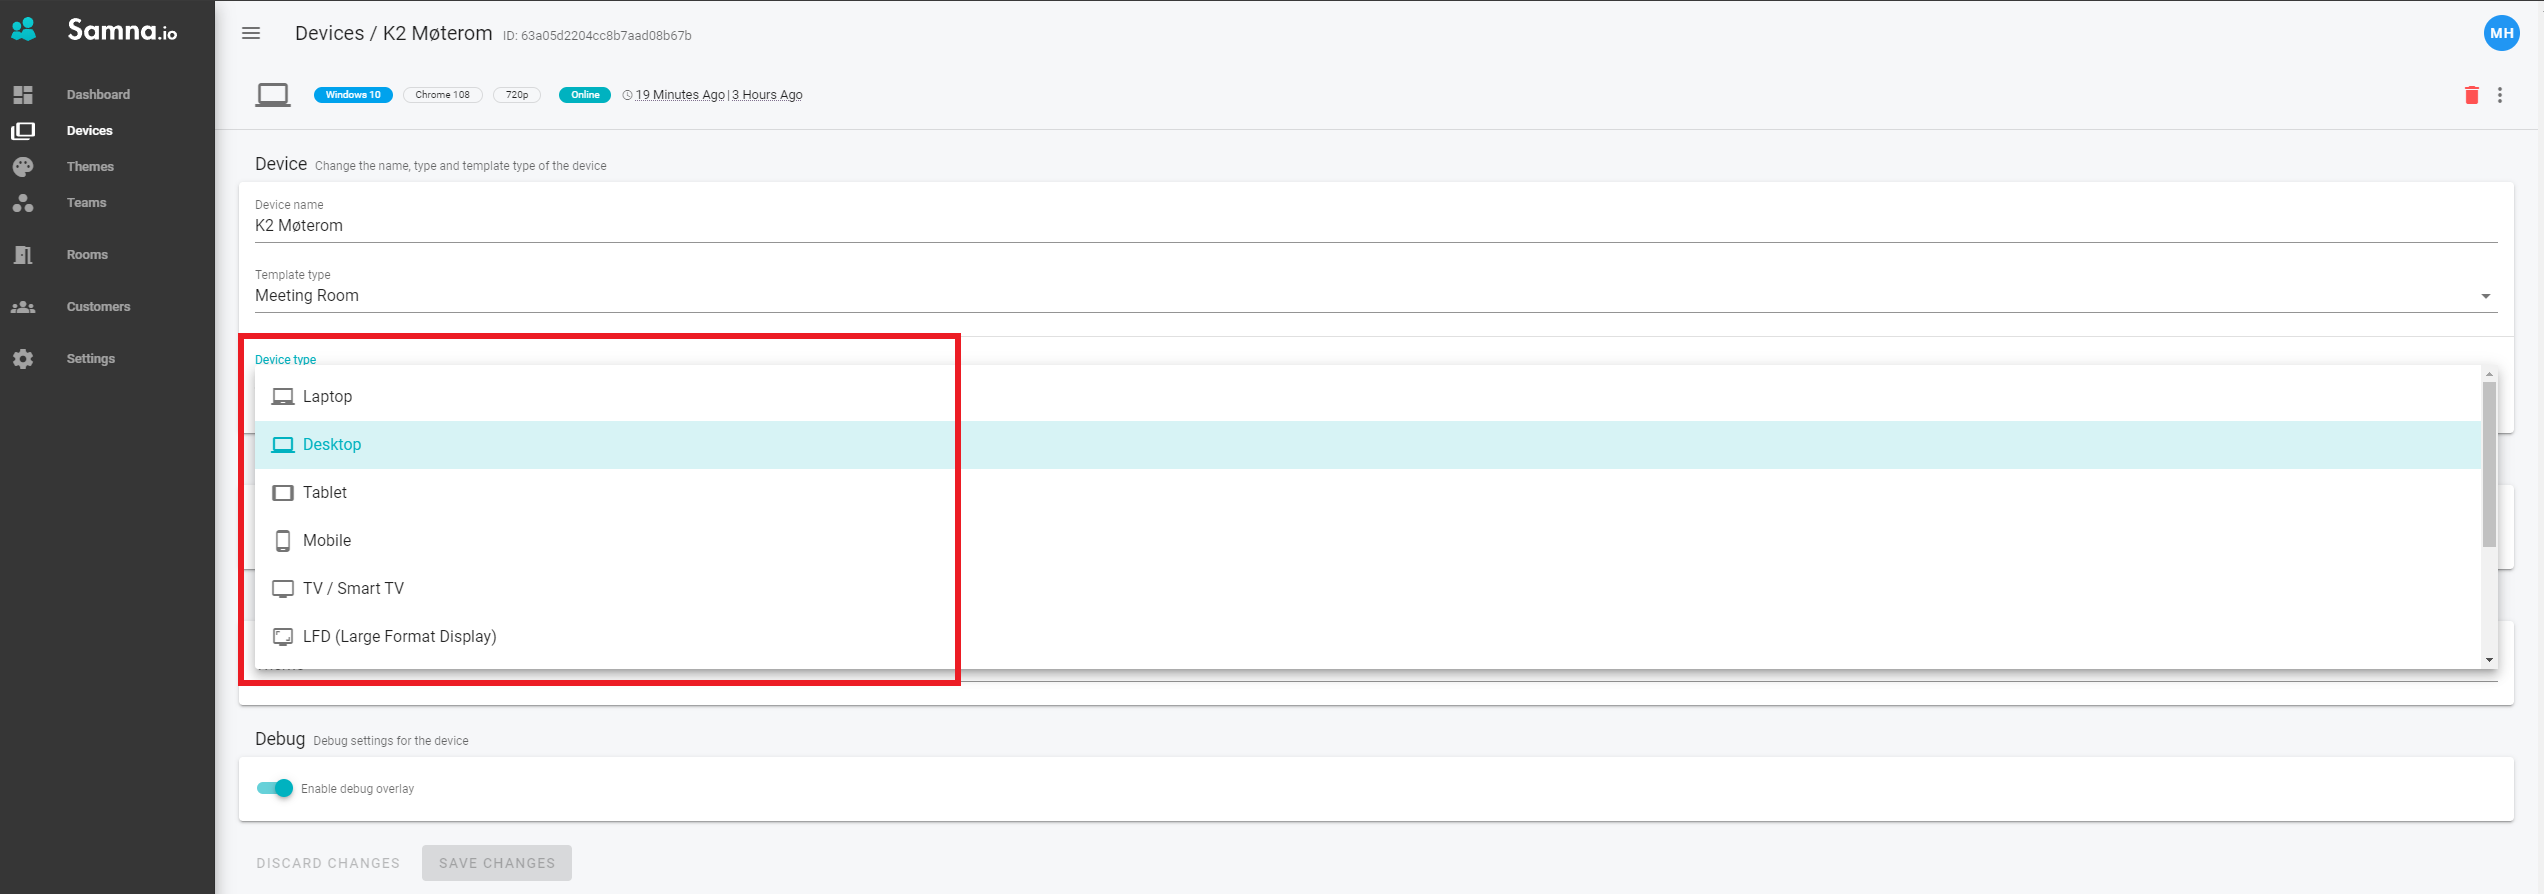
5. Enable debug overlay on the device 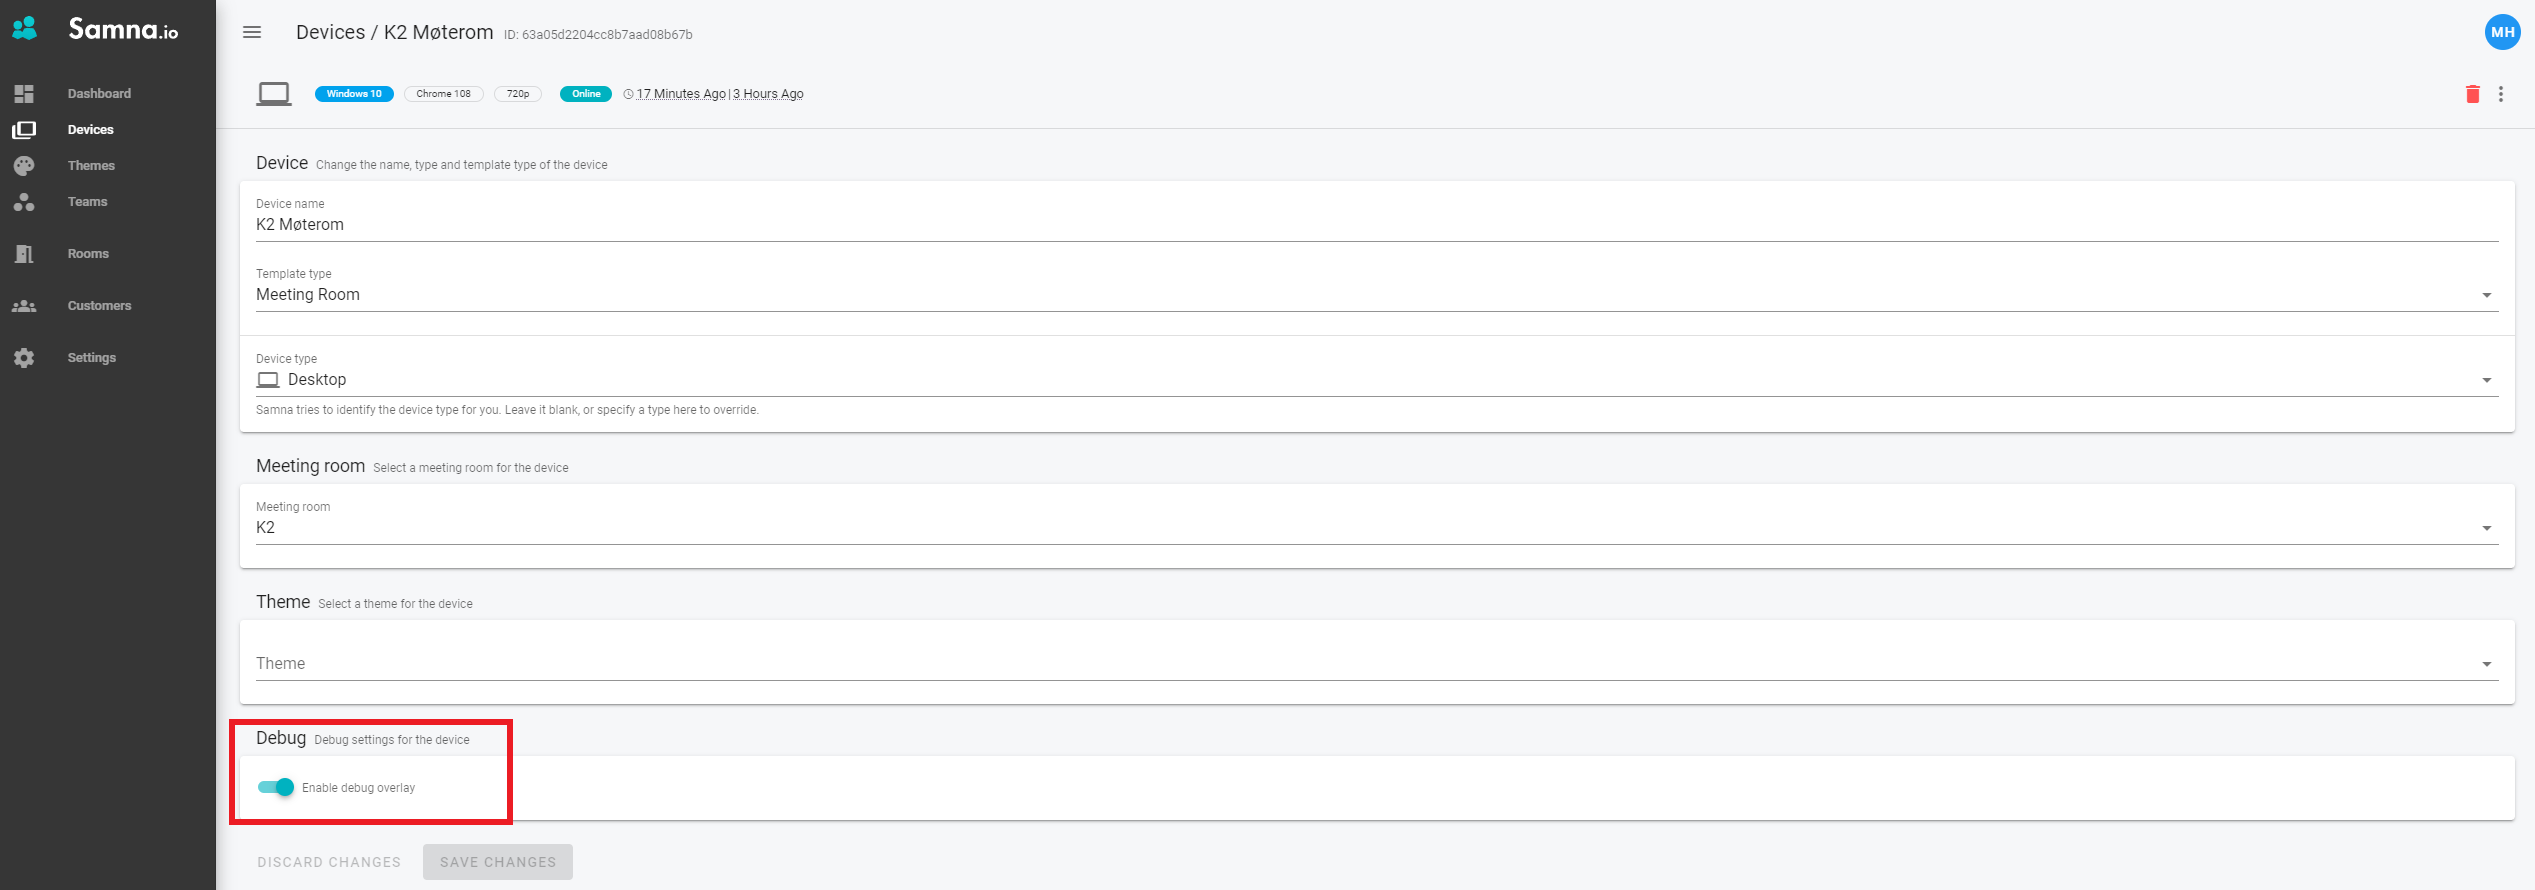
After configuring, you have the option to save changes or to revert the changes. If the device is connected, the updates will be pushed immediately after saving. If the device is not connected, the updated state will be available the next time the device connects or requests a syncronization.
Note that you can not save or revert if you have not made any changes. Also note that if you try to leave a page with unsaved changes, **Samna-Portal** will prompt you to save or reject.
1. To save any changes, click **SAVE CHANGES**. You will stay on the same page. 
2. To revert changes back to the last saved state, click **REVERT CHANGES**. You will stay on the same page. 
Want to print your doc?
This is not the way.
This is not the way.

Try clicking the ··· in the right corner or using a keyboard shortcut (
CtrlP
) instead.